15
May
Tips For Shooting Beautiful Silhouettes
- By Gaurav Mittal
- No Comments
Silhouette images have the potential to appear very artistic, striking and full of beauty. They show a photographers level of creativity and a fresh approach to shooting style and subjects. Here are a few tips on photographing silhouettes.
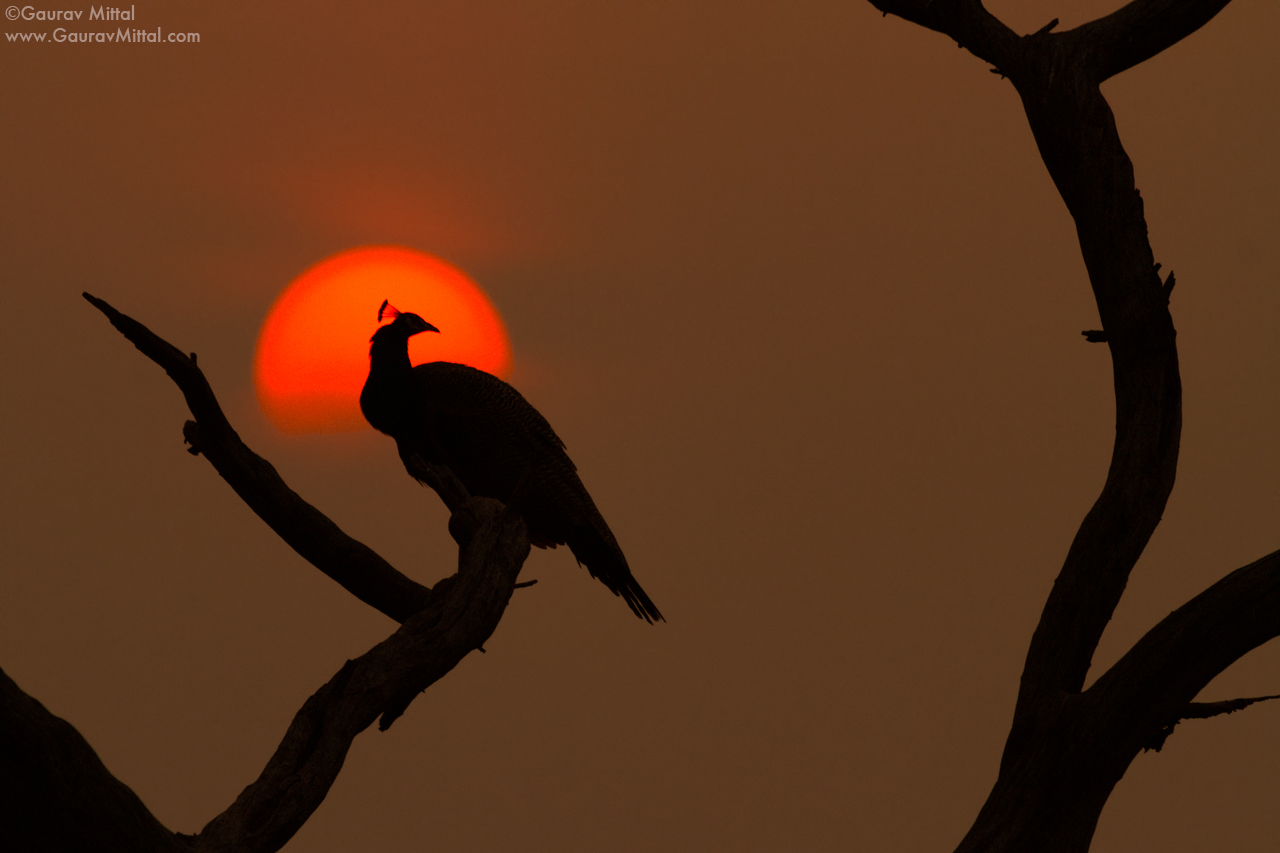
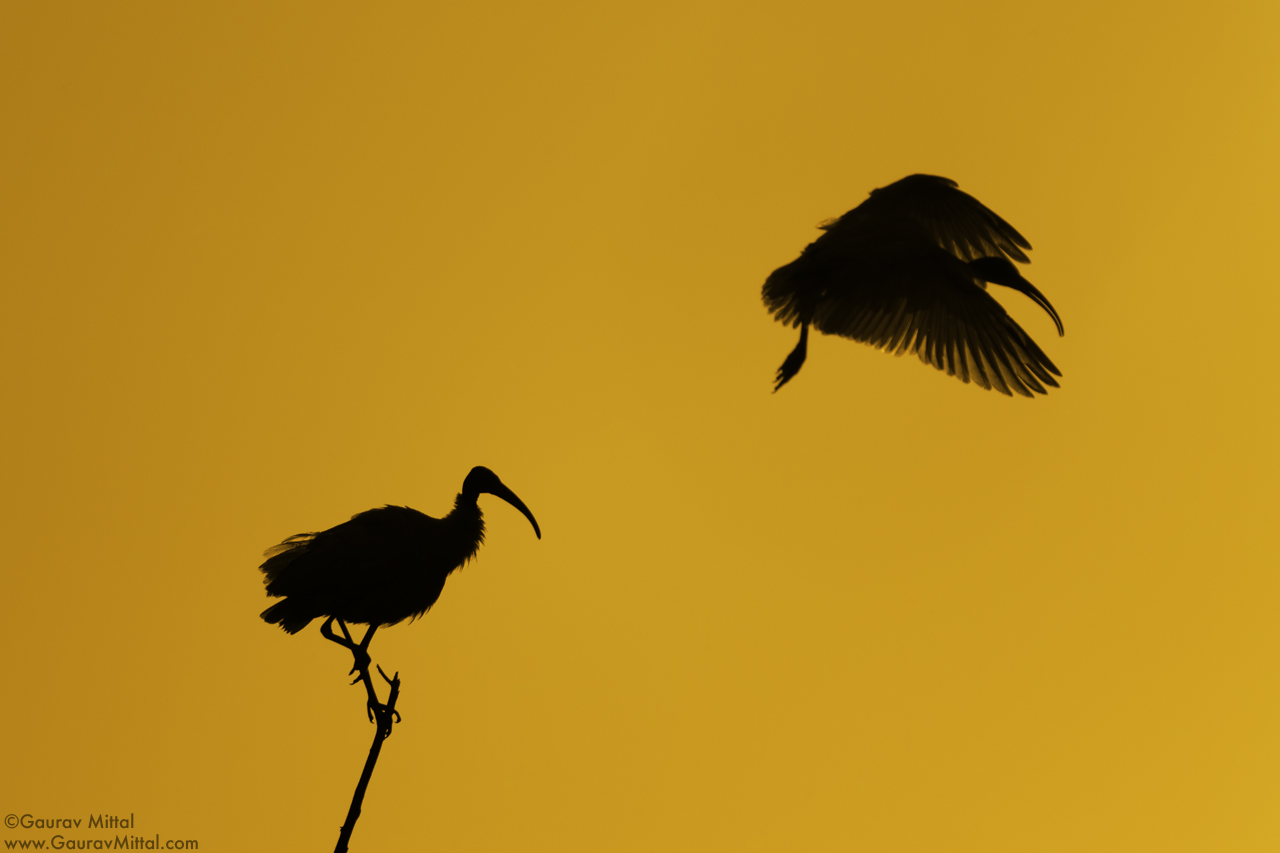
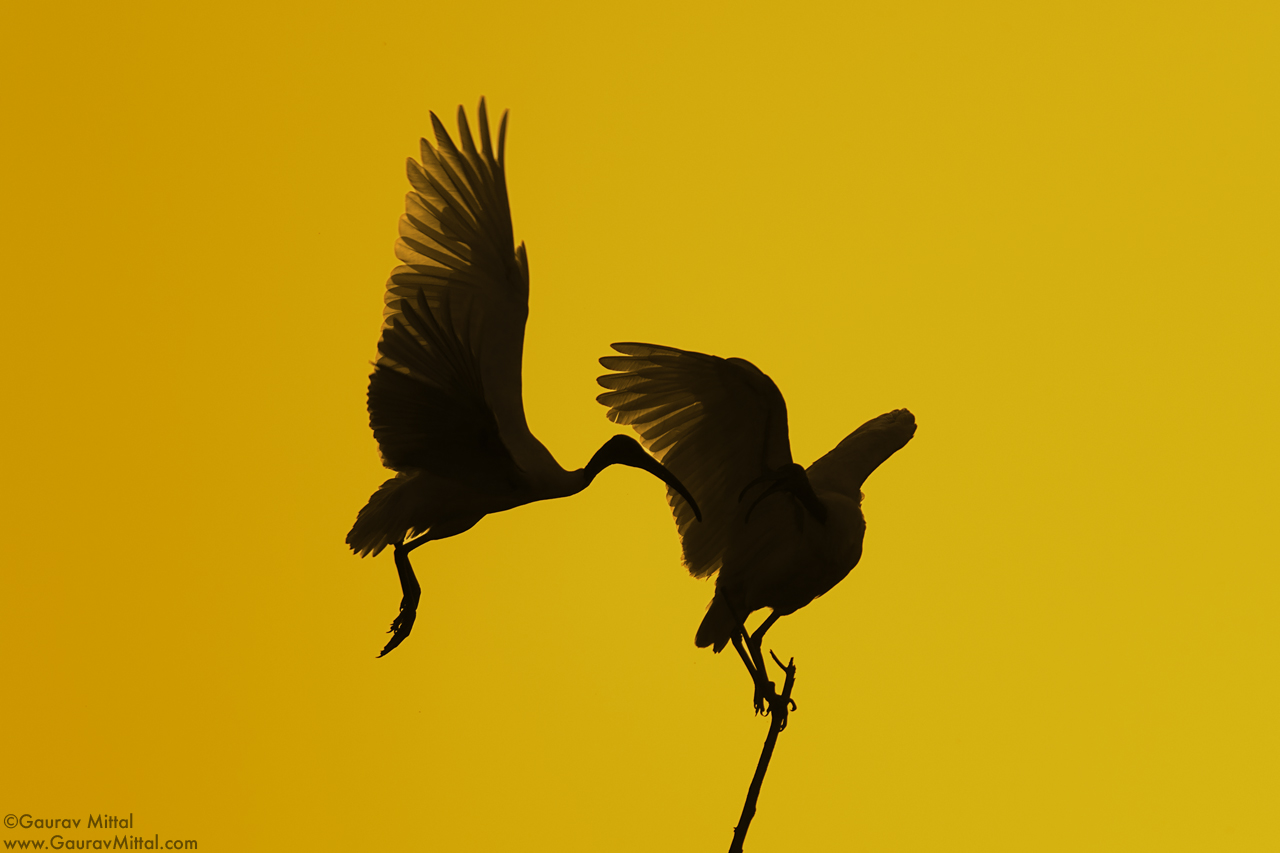
When photographing birds, we mostly consider showing their beauty by capturing sharp images with lots of details, often shooting portraits or capturing their behavior. While that is exactly how I like to photograph birds and never get tired of it, it’s always exciting to think outside the box and get the creative juices flowing. Photographing bird silhouettes is a technique where we capture their flight, movement, or portraits in a manner where only their dark outlines are visible against colorful backgrounds. If executed properly, silhouette images can render the scene, subject, or both looking visually stunning and artistic. Below I share some images and give tips on shooting bird silhouettes; these tips can also be applied to subjects other than birds.
Sunrise and sunsets are the best time for creating rich, colorful, and visually-pleasing silhouettes.
It is extremely important to scout out the best locations and conditions for creating silhouettes. That means looking for the best locations from where you have a clear view of the sunrise or sunset as well as paying attention to the subject’s activity around these areas.
Whether shooting at sunrise or sunset, try to include the sun; preferably keep it behind your subject for a more artistic appeal. This also helps in setting a mood and tone for storytelling images about the location.
Before framing any birds, meter the sky where it is the brightest and adjust the exposure compensation setting to achieve the right exposure. While I always shoot in Evaluative metering mode, I suggest that you try Spot metering mode for silhouettes and pick a mode that fits your shooting style. Spot metering mode is often recommended for silhouette subjects.
A washed-out or a very bright looking silhouette without clipping the highlights is a sign that your histogram is pushed to the right side and a good exposure has been achieved. A histogram that shows a range of tones from dark to bright is a good indicator that the image has minimal noise. In post-processing, the exposure, color, and contrast can be adjusted to bring back the rich colors. The relatively low noise can be removed without affecting image quality.
Get more creative with silhouettes; instead of always rendering your subject as a black outline, try rendering some details. This may help capture a behavior and render the image much more visually appealing and impactful to your audience.
Keep in mind that the best color in the sky appears closest to sunrise and sunset when the light is dim. Adjust your ISO up or down to achieve the required shutter speed; this will depend on whether you want to render the bird frozen or add some motion blur.
Set the white balance manually to between 7,500 Kelvins – 9,500 Kelvins. This further warms up the image and adds a bigger punch to create fiery silhouettes.
In conclusion, I would like to mention that even while shooting silhouette images, you should have a sense of purpose for why you are making these images and what you want to convey to your audience. The Indian Peafowl and the Black-headed Ibis are very common birds and well represented in Keoladeo National Park, Bharatpur. They are often found roosting or perched high up in the trees. My goal here was to convey that mood of this park and also make these common beauties appear extraordinary in their environment.


Submit a Comment